Easy Origami Whale: Step-by-Step Paper Craft
Origami Whale: Let’s dive into the wonderful world of paper folding and create our very own majestic whale! Imagine a beautifully sculpted creature, its sleek body curved gracefully, ready to glide through imaginary ocean currents, complete with a proud fluke. This project is absolutely perfect for complete beginners and kids, making it a fantastic activity for a rainy afternoon or a thoughtful handmade gift. In about 10-15 minutes, you’ll transform a simple square of paper into this charming sea dweller. Throughout this tutorial, I’ll guide you step-by-step, showing you how to make crisp folds and shape your paper into this delightful aquatic friend. Get ready for some mindful, hands-on fun!
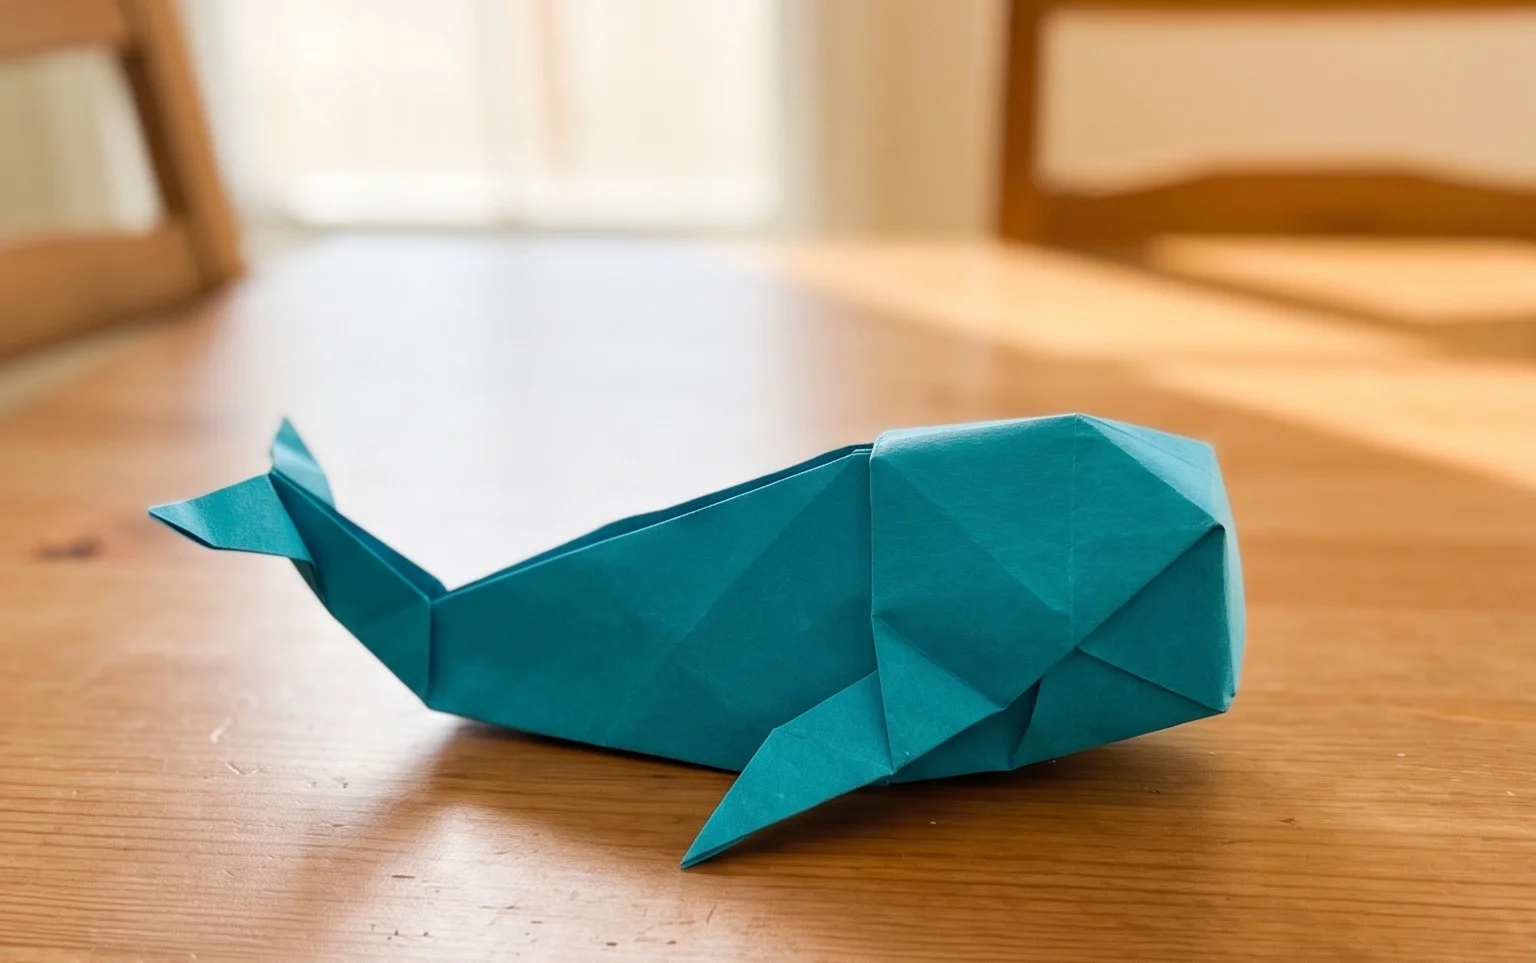
Origami Whale: Step-by-Step Instructions
Hello, fellow paper adventurers! Today, we’re going to dive into the wonderful world of origami and create a charming little whale. This model is a fantastic project for beginners, offering a satisfying result without being overly complex. So, grab your paper, clear your workspace, and let’s get folding!
Choosing Your Paper
The foundation of any good origami model is the paper. For our whale, I recommend a few things to make your folding experience smooth and your final creation look its best.
Type and Weight
Standard origami paper is your best bet. This paper is specifically designed for folding – it’s thin enough to allow for many layers without becoming too bulky, yet strong enough to hold creases well. If you don’t have dedicated origami paper, a lightweight printer paper (around 70-80 gsm) can work in a pinch, but it might be a little stiffer. Avoid cardstock or very thick paper, as these will make intricate folds difficult and the final model will be chunky.
Size
For your first whale, I suggest a square sheet of paper that’s at least 6 inches by 6 inches (15cm x 15cm). This size gives you enough room to make precise folds and see your progress clearly. Smaller sizes can be a bit fiddly for beginners. As you get more comfortable, you can experiment with smaller or larger squares.
Single or Double Sided
Our origami whale will look most effective with single-sided origami paper. This means one side of the paper is coloured (or patterned) and the other is white. When we make our folds, the white side will be hidden inside the model, and the coloured side will form the beautiful exterior of our whale. If you only have double-sided paper (both sides coloured), that’s perfectly fine too! Your whale will just have a pop of colour on both sides, which can also be quite charming.
Understanding the Base Folds
Before we begin our whale, it’s helpful to understand a couple of fundamental origami folds. Practicing these will make the entire process much easier.
The Valley Fold
This is the most common fold. Imagine you’re folding a piece of paper in half to create a crease. You’re bringing two parts of the paper together so that the crease forms a “valley.” In origami, we make a valley fold by bringing an edge or a corner to meet another edge or corner, then pressing down firmly to create a sharp crease. We’ll be using many valley folds today.
The Mountain Fold
This is the opposite of a valley fold. Instead of folding the paper towards you, you fold it away from you. Imagine you’ve made a valley fold, and now you’re unfolding it. The crease line you see is a mountain fold if you were to fold the paper so the crease pops up like a mountain ridge. In this tutorial, I’ll mostly instruct valley folds, but if you encounter a fold that feels like you’re pushing the paper away from you to make a crease, that’s a mountain fold.
Making clean folds is crucial. This means creasing firmly and precisely. Run your fingernail along the crease to ensure it’s sharp. For beginners, take your time with each fold, aligning edges and corners as accurately as possible.
Let’s Fold a Whale: Step-by-Step!
Now, let’s get started on our origami whale!
1. Start with your square piece of paper. Place it on your work surface with the coloured side facing up.
2. Fold the paper in half diagonally. Bring the bottom left corner up to meet the top right corner. Crease firmly. You should now have a triangle.
3. Unfold the paper. You should see a diagonal crease running across your square.
4. Now, fold the paper in half diagonally again, but in the opposite direction. Bring the bottom right corner up to meet the top left corner. Crease firmly. You will again have a triangle.
5. Unfold the paper. You should now have two diagonal creases that form an “X” shape on your paper.
6. Flip the paper over so the white side is facing up.
7. Fold the paper in half horizontally. Bring the bottom edge up to meet the top edge. Crease firmly. You will have a rectangle.
8. Unfold the paper. You should see a horizontal crease across the middle.
9. Fold the paper in half vertically. Bring the left edge over to meet the right edge. Crease firmly. You will have a rectangle.
10. Unfold the paper. You should now have a horizontal and a vertical crease, dividing your square into four smaller squares.
11. We’re going to collapse the paper into a square base. With the white side still facing up, hold the paper with the horizontal crease at the top and bottom, and the vertical crease at the left and right. Gently push the left and right sides inwards, towards the centre. As you do this, the top and bottom edges will naturally come together at the top. Guide the paper so that the left and right corners meet at the bottom point, and the top flap folds down. You are essentially reversing the horizontal fold you made earlier, and the diagonal creases are helping you bring the sides inwards. The result should be a smaller square, with all the raw edges at the bottom point. This is called a “Square Base.”
12. Orient the square base so that the open edges (the raw edges) are pointing towards you, at the bottom.
13. Take the right flap of the top layer. Bring its bottom edge up to meet the centre vertical crease. Crease firmly.
14. Repeat step 13 with the left flap of the top layer. Bring its bottom edge up to meet the centre vertical crease. Crease firmly. Your paper should now look like a kite shape on top of a square.
15. Fold the small triangular tip at the top of the kite shape downwards, over the flaps you just folded. Crease firmly. This little fold helps secure the previous folds.
16. Now, unfold the last three folds you made (steps 13, 14, and 15). You’ll see the creases you’ve made.
17. Lift the very top layer of paper. Using the creases you just made, you are going to perform a fold called a “Petal Fold.” Lift the entire top flap upwards, and then open it up, flattening it out. The side edges will naturally move inwards along the creases you made. You’re essentially opening up the top layer and flattening it down into a diamond shape. The tip that was folded down in step 15 will now be pointing upwards.
18. Flip the entire model over.
19. Repeat steps 13 through 17 on this side. Take the right flap, bring its bottom edge to the centre crease. Then do the same with the left flap. Fold the top triangle down. Then unfold those three folds. Finally, perform the petal fold by lifting the top layer and flattening it into a diamond shape.
You should now have a diamond shape with two “legs” at the bottom. This is called the “Bird Base,” and it’s a common and versatile base in origami.
20. Orient the Bird Base so that the two “legs” are pointing downwards. We will now work with these legs to form the tail and head of our whale.
21. Take the right leg and fold it upwards, angling it slightly to the right. This will become the whale’s tail. Crease firmly. The angle you choose here will determine how spread out the tail is.
22. Take the left leg and fold it upwards, angling it slightly to the left. This will become the whale’s head. Crease firmly.
23. Now we need to refine the head. Take the tip of the left leg (the one you just folded upwards) and fold it back down, creating a small fold that will form the snout of the whale. Crease firmly. You’re creating a slight curve here.
24. Flip the entire model over.
25. You should see the tail folded up on one side and the head folded up on the other. To make the whale’s body more rounded, we need to do what’s called an “Inside Reverse Fold” on the tail. Look at the tail you folded up. You want to push the tip of the tail inwards, between the layers of paper, so that it lies flat against the body. To do this, gently pull the tail outwards a little, then push the tip downwards and inwards. You’ll need to crease along the sides of the tail where it meets the body. This might feel a bit tricky the first time, but the goal is to make the tail lie flat and integrated with the body.
26. Perform a similar Inside Reverse Fold on the head. Gently pull the head outwards, then push the tip downwards and inwards between the layers. Crease firmly. This tucks the head in nicely.
27. Now for the whale’s blowhole! On the top of the whale’s body, near where the head emerges, make a small pleat or fold downwards. This is a small fold, and it doesn’t need to be perfect. Just a little dip to suggest a blowhole.
28. You’re almost there! To give the whale a more rounded shape, gently squeeze the sides of the body inwards. You can also gently curve the paper to give it a more organic feel.
Congratulations! You’ve folded your origami whale!
Common Beginner Pitfalls and How to Avoid Them
As you gain experience, you’ll find these little paper creatures become second nature, but here are a couple of common spots where beginners might stumble, and how to navigate them:
1. **The Square Base Collapse (Step 11):** This is often the trickiest step for newcomers. The key is to use the diagonal creases you made earlier as guides. When you push the sides inwards, allow the diagonal creases to work for you. Don’t force the paper. Imagine you’re squashing the paper down. If it’s not collapsing smoothly, gently unfold it and re-align the edges, ensuring your diagonal creases are sharp. The goal is to have the four points of the original square come together at the bottom.
2. **The Petal Fold (Steps 17 & 19):** This fold is fundamental for creating many origami figures, but it can feel a little counter-intuitive at first. When you lift the top layer, you’re essentially opening it up. The side edges will naturally want to move inwards along the creases you made. Gently guide them. Think of it like opening a book, but then flattening the pages down. Don’t be afraid to crease firmly to lock the diamond shape in place.
3. **The Inside Reverse Fold (Steps 25 & 26):** This fold involves tucking a point inside the model. The trick is to gently open the layers where the fold needs to happen, push the point in, and then re-crease. For the tail, if it feels stiff, you might need to loosen the folds around it slightly before tucking it in. Patience is key here; it might take a few tries to get it looking neat.
Variations for Extra Fun
Once you’ve mastered the basic whale, don’t be afraid to experiment!
Size
As mentioned, you can use any size square paper. Smaller squares will result in tiny, adorable whales, perfect for little scenes or charms. Larger squares will give you a more prominent statement piece.
Paper Pattern and Colour
The possibilities are endless! Use patterned origami paper for a whimsical touch. Try metallic paper for a shimmering, elegant whale. Even old newspapers or magazine pages can yield interesting results, giving your whale a unique, recycled look. If you’re feeling artistic, you could even draw on the paper before folding – perhaps add some stripes or spots to your whale!
Displaying and Gifting Your Origami Whale
Your finished whale is a delightful little creation that can be enjoyed in many ways.
* **Desk Buddy:** Place your whale on your desk as a cheerful companion. Its small size makes it unobtrusive but still a lovely pop of colour.
* **Mobile:** String several whales together at different lengths to create a charming mobile for a nursery or any room.
* **Gift Topper:** Tie a whale onto a gift for a unique and handmade touch. It’s a lovely alternative to a traditional bow.
* **Party Favours:** If you’re hosting a party, a small origami whale for each guest can be a memorable and eco-friendly party favour.
* **In a Scene:** Create a miniature underwater scene with other origami sea creatures or small toys. Your whale will look right at home!
I hope you’ve enjoyed folding this origami whale with me. It’s a simple pleasure, but seeing your own creation come to life from a flat sheet of paper is incredibly rewarding. Happy folding, and may your origami adventures be ever joyful!
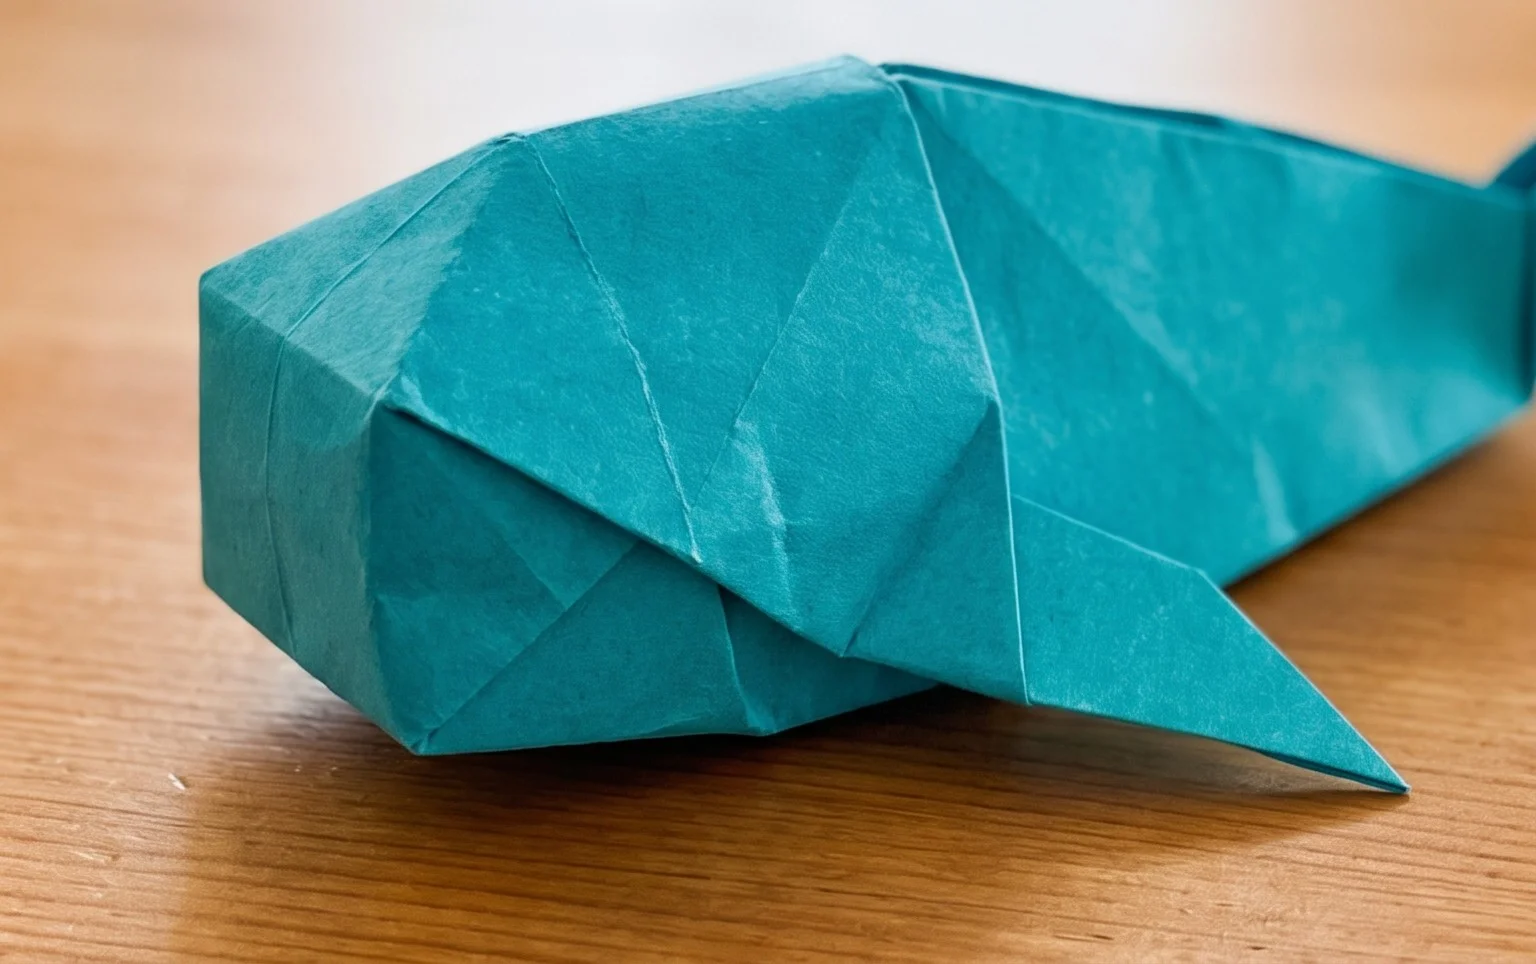
Conclusion
Congratulations on completing your Origami Whale! Don’t worry if your first attempt isn’t perfect; every fold is a step in the learning process. We hope you enjoyed bringing this majestic creature to life. Share your beautiful Origami Whale with friends and family – they’ll be amazed by your paper-folding skills! Ready for more ocean adventures? Try folding an origami dolphin or a graceful origami crane next. Keep exploring the wonderful world of paper crafts, and let your creativity swim free!
